Coffee tasting, also known as “cupping,” is a sensory experience that allows you to explore the different flavors, aromas, and textures of coffee. While professional baristas and coffee roasters use cupping to evaluate coffee quality, you don’t need to be an expert to enjoy this practice at home. Hosting your own coffee tasting can help you refine your palate, appreciate different coffee origins, and discover new favorites.
In this guide, we’ll walk you through setting up a coffee tasting session at home, including the essential tools, techniques, and tips to make the most of the experience.
Why Try Coffee Tasting at Home?
☕ Discover New Flavors: Different coffee beans offer unique tasting notes like chocolate, citrus, berries, or floral undertones.
☕ Learn About Coffee Origins: Coffee from Ethiopia tastes different from Brazilian coffee due to variations in altitude, climate, and processing methods.
☕ Improve Your Coffee Knowledge: The more you taste, the more you’ll recognize subtle differences in beans, roasts, and brewing techniques.
☕ Enhance Your Brewing Skills: Understanding coffee profiles will help you choose the best beans and brewing methods for your taste preferences.
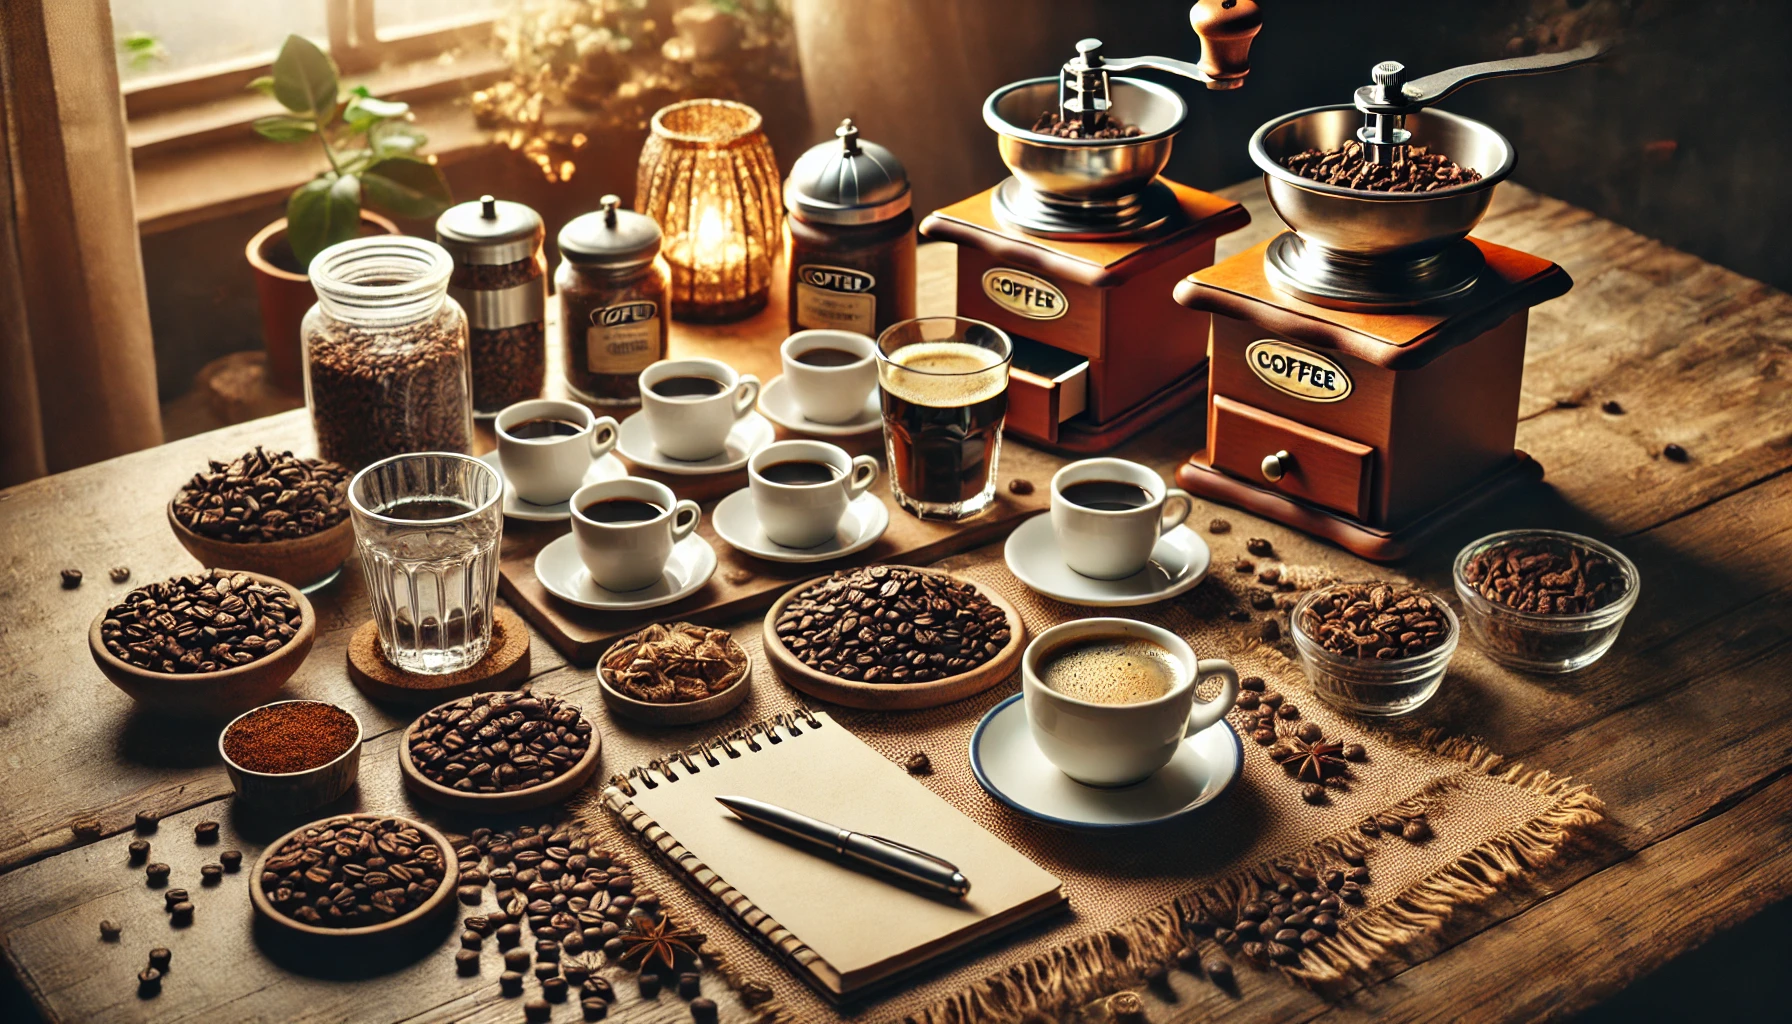
What You Need for a Home Coffee Tasting
Before you begin, gather the following items:
✔ Different Coffee Beans – Choose at least three varieties (single-origin or blends) to compare flavors.
✔ Burr Grinder – For freshly ground coffee, which preserves aromas and flavors.
✔ Filtered Water – The quality of water impacts the taste of coffee.
✔ Cups or Bowls – Ideally, use small, identical cups to ensure consistency.
✔ Spoons – For slurping and evaluating the texture of the coffee.
✔ Kettle – To heat water at the right temperature (90–96°C / 195–205°F).
✔ Notepad and Pen – To take notes on flavor, acidity, body, and aftertaste.
Step-by-Step Guide to Coffee Tasting
Step 1: Choose Your Coffee Beans
For a well-rounded experience, select different beans based on:
- Origin – Try coffees from Africa, South America, and Asia to compare regional differences.
- Roast Level – Compare light, medium, and dark roasts to see how roasting affects flavor.
- Processing Method – Experiment with washed, natural, and honey-processed beans.
Step 2: Grind Your Coffee Fresh
- Grind each coffee sample to a coarse consistency, similar to sea salt.
- Keep the grind size the same for all coffees to ensure a fair comparison.
✔ Pro Tip: Label each coffee sample to avoid confusion.
Step 3: Smell the Dry Grounds
- Before brewing, take a moment to smell the ground coffee.
- Note any aromas – does it smell nutty, fruity, floral, or earthy?
✔ Pro Tip: Close your eyes while smelling to focus solely on the scent.
Step 4: Brew the Coffee Using the Cupping Method
- Place 10g of ground coffee into each cup.
- Pour 150ml of hot water (90–96°C) over the coffee grounds.
- Let it steep for 4 minutes without stirring.
✔ Pro Tip: Use a timer to ensure consistency.
Step 5: Break the Crust and Smell Again
- After 4 minutes, a “crust” of coffee grounds will form on the surface.
- Use a spoon to break the crust and gently stir.
- Inhale deeply – this is when the coffee releases its strongest aromas.
Step 6: Taste the Coffee
- Use a spoon to slurp the coffee (yes, slurping is encouraged!).
- Move the coffee around your mouth to evaluate body, acidity, sweetness, and bitterness.
✔ Pro Tip: Slurping aerates the coffee, helping to distribute flavors more effectively.
How to Evaluate Coffee Like a Pro
During the tasting, pay attention to these key characteristics:
1. Aroma
- Does it smell like chocolate, caramel, citrus, flowers, or something else?
2. Acidity
- Acidity gives coffee a bright, lively flavor.
- Low-acidity coffees taste smoother, while high-acidity coffees feel crisp and tangy.
3. Body (Mouthfeel)
- How does the coffee feel in your mouth?
- Light-bodied coffees feel thin, while full-bodied coffees feel rich and creamy.
4. Flavor Notes
- Can you identify specific flavors? Some common tasting notes include:
- Fruity (berries, citrus, apple)
- Nutty (almond, hazelnut, peanut)
- Floral (jasmine, rose, lavender)
- Chocolatey (dark chocolate, cocoa, caramel)
5. Aftertaste
- How long does the flavor linger after swallowing?
- A long aftertaste is often a sign of high-quality coffee.
Comparing Different Coffees
After tasting each coffee, take notes on your impressions. Compare how each one differs in acidity, body, and flavor.
✔ Pro Tip: Rank your favorites and discuss your observations with others if you’re hosting a group tasting.
Fun Variations for Coffee Tasting
To make your home coffee tasting more interesting, try these variations:
1. Blind Tasting Challenge
- Pour coffee into unlabeled cups and try to guess the origin or roast level.
2. Compare Brewing Methods
- Brew the same coffee using different methods (French press vs. pour-over vs. espresso) and see how the flavor changes.
3. Food Pairing Experiment
- Taste coffee alongside chocolate, fruit, or pastries to see how flavors interact.
Common Mistakes to Avoid
🚫 Using Stale Coffee – Always use freshly roasted beans for the best flavors.
🚫 Inconsistent Grind Sizes – Different grind sizes can affect extraction and lead to an unfair comparison.
🚫 Rushing the Process – Take your time to appreciate each step of the tasting experience.
🚫 Not Drinking Water Between Samples – Cleanse your palate with water between tastings.
Conclusion: Become a Coffee Connoisseur
Hosting a coffee tasting at home is a fun and educational way to explore the diverse world of coffee. By learning to identify different flavors, aromas, and textures, you’ll develop a deeper appreciation for your daily cup.
Are you ready to set up your own coffee tasting session? Grab some beans, invite a few friends, and start exploring the rich flavors of coffee!